How to Install Windows without USB/CD
Make a Bootable Internal/External Hard Drive Partition and Install Windows from it
Step 1: Format the Drive
Just place the flash drive in the USB port of your computer. Open command prompt (cmd). You can do that by pressing WINKEY+R and typing "cmd" or searching and right-clicking on the listed file and clicking on “Run as administrator“.
Have in mind that this will format the Hard Drive. If you do not want to lose all your files, simply create a partition with something close to 8GB (for Windows 10 installation, for instance) and skip this step.
Otherwise, enter the following commands in the same order as I did here:
diskpart
list disk
select disk z (where z is the number corresponding for your USB disk. You have to replace it with the corresponding letter from your own system).
clean
create partition primary
active
format fs=fat32 quick
assign
exit
list disk
select disk z (where z is the number corresponding for your USB disk. You have to replace it with the corresponding letter from your own system).
clean
create partition primary
active
format fs=fat32 quick
assign
exit
Please be careful using the select command (so you don’t select and format your hard disk instead)
If everything goes well, this is how your cmd screen will look like
Step 2: Mount The Windows 8 ISO Image Into A Virtual Drive
If you don’t have a physical optical drive you should mount the image into a virtual drive. You can install and use PowerISO. For Windows 8 and up, this function is already natively included in the system, just click the .ISO file.
Step 3: Make The External Hard Disk Bootable
I’m assuming that F is your drive letter with Windows 8 ISO image and G: is the location of your external hard disk (or flash drive) . Open the command prompt screen (as administrator) and type the commands:
F:
cd boot
bootsect.exe /nt60 g:
cd boot
bootsect.exe /nt60 g:
Also, don’t forget to triple check the target location so you don’t accidentally delete the boot sector of your hard disk
Step 4: Copy The Installer Files
After the above step, don’t close the command prompt (at least not yet). At this moment your new external hard disk or flash drive is bootable but you need to execute one more command in order to transfer the files to your new drive. You have to type the following command line:
xcopy f:\*.* g: /e /f /h
Again replace the drive letters with the ones that apply to you. Alternatively you can copy all the files in the virtual drive to the flash drive or external hard drive by using Windows Explorer, but using XCOPY ensures that system and hidden files are also copied.
Step 5: Boot Off The External Hard Drive or USB Flash Drive
To use and boot from your newly created drive on your netbook or computer, first you have to set your computer you must set it to boot through the USB flash drive. In order to do this shut down your computer, go in the CMOS setup by pressing the “DEL” or “F2″ key when the computer power on, without unplug the newly created external hard drive or USB Flash Drive from the machine. Set the device as the primary boot option, save the changes BIOS and restart. On newer computers you can boot from the device without entering into BIOS by pressing either “ESC”, “F9″ or “F11″ (different key on different manufacturers).
Now you can install Windows as usual. Please be aware that if you’ve changed the boot sequence in the BIOS, remember to change it back as it was after copying the files (usually after first automatic reboot).
If it does not boot, showing a message of the kind "Insert a boot media in selected device and press any key", that is because the partition is not currently bootable. Either access 'diskpart', select the partition and type "active", or, if that returns any error, proceed to a different approach: WinToHDD.
Step 1. Run WinToHDD, then click the  button.
 button.
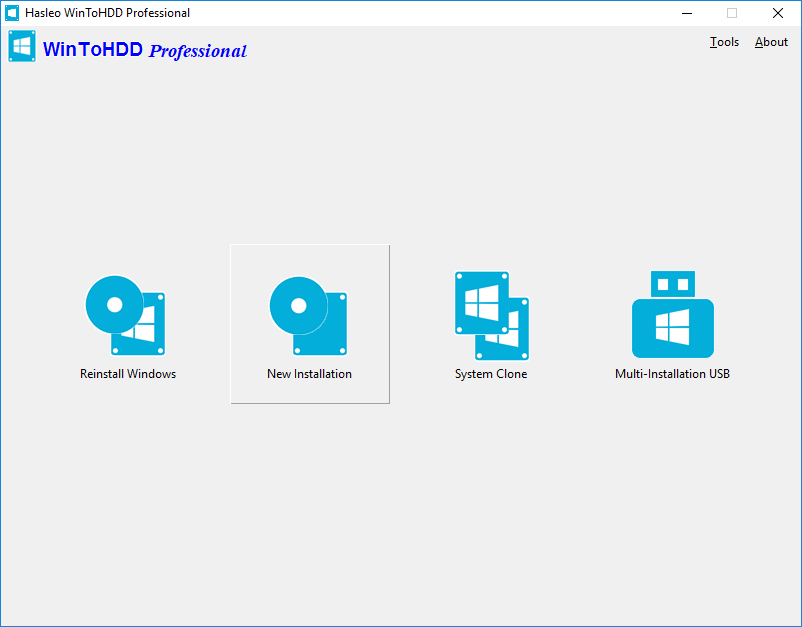
Step 2. Please use the following guidelines to prepare your installation source.
- Installing from an ISO/WIM/ESD/SWM/VHD/VHDX File: Click the
 button, then click the
  button and select the ISO/WIM/ESD/SWM/VHD/VHDX file from the open dialog box.
 - Installing from a DVD drive: Insert the Windows installation CD/DVD into your CD/DVD drive. Once the CD/DVD is being detected in Windows, then click
 button and select the CD/DVD drive in the drop-down list. If your CD/DVD drive is not correctly recognized by WinToHDD, you need to click the
  button for the program to recognize the CD/DVD drive.
Step 3. WinToHDD scans for and lists installable operating systems. If you see the edition of Windows you want to install, select it, then click "Next".
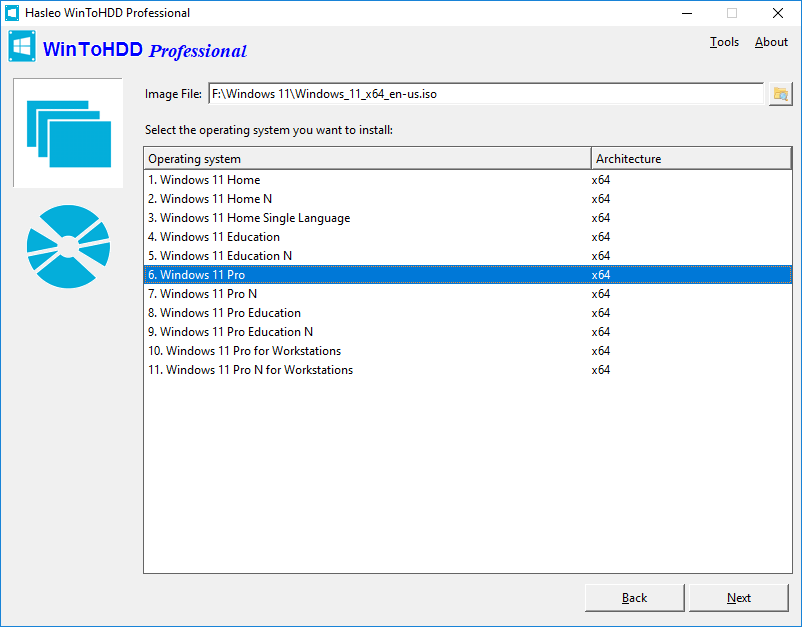
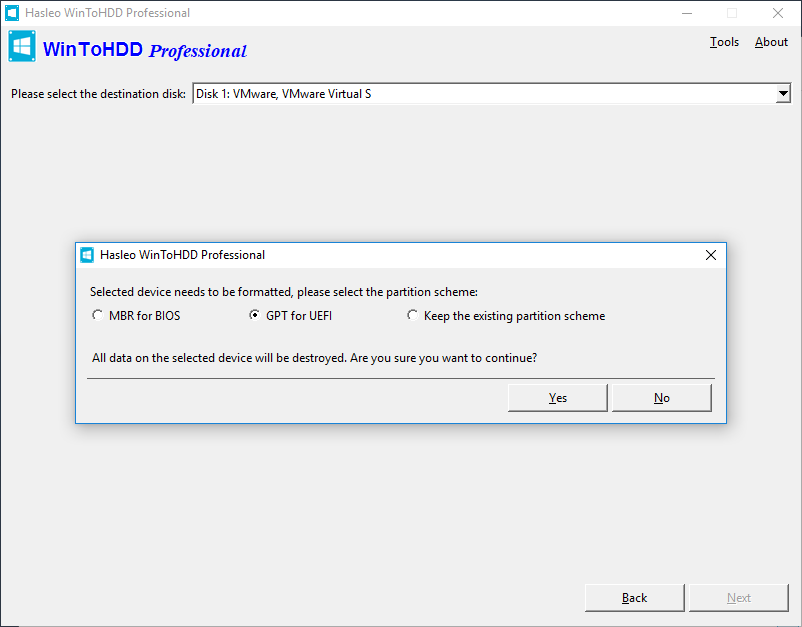
Step 4. Select the destination disk in the drop-down list, a pop-up will appear asking you if you want to format it to continue, select the partition scheme you want to use and click "Yes" to format it. If you do not want to lose all your data, choose "Keep the existing partition scheme", then you need to manually prepare the partitions on the disk, and here is the user guide on how to manually prepare partitions for the destination disk.
Step 5. Select the system partition (for UEFI, FAT-32 100MB) and boot partition (the normal Windows partition. For UEFI, NTFS) from the partition list; the selected partitions will be marked as red.
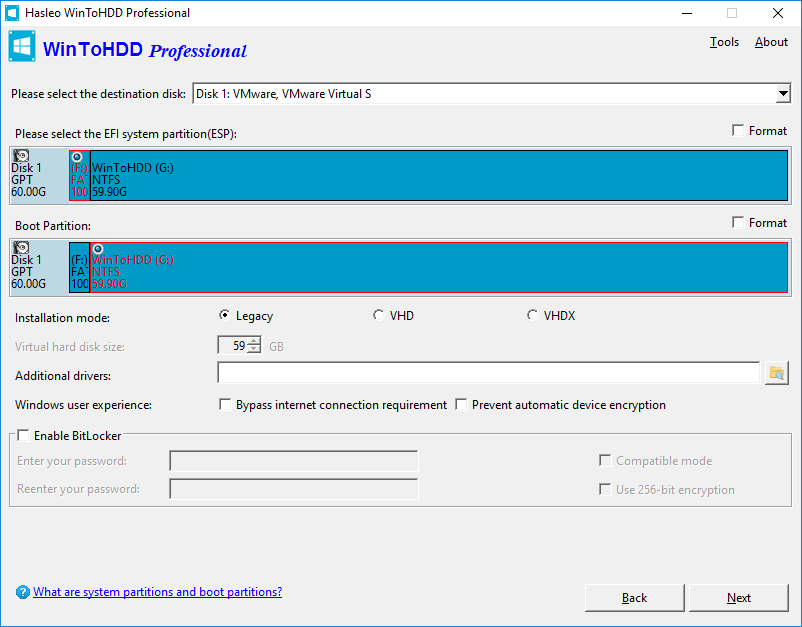
Step 6. Click "Next". After clicking "Next", WinToHDD begins installing Windows.
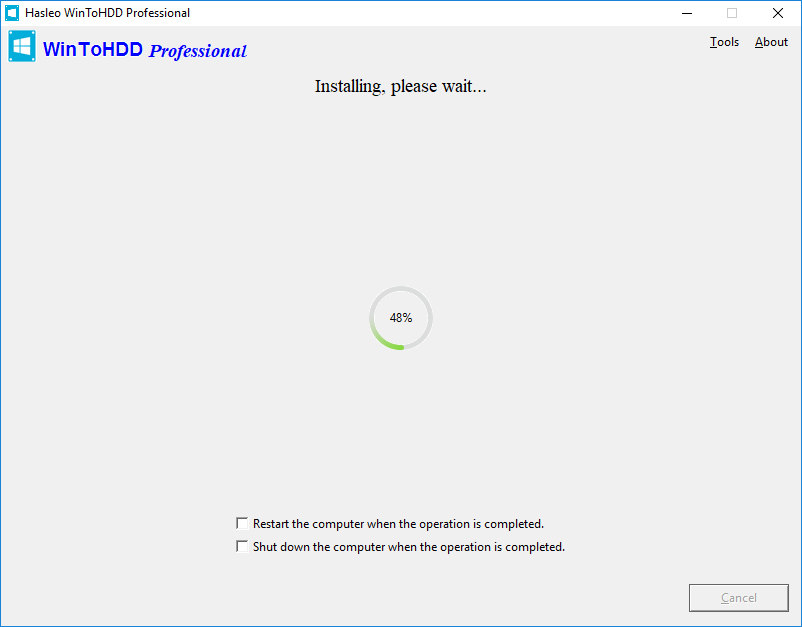
Step 7. It takes some time to install. After installation restart the computer and change BIOS to boot from your hard disk drive.
Step 8. Windows installation starts up and you have to complete all the installation steps. You will have to boot from your hard disk drive if the Windows Installation restarts the computer.
That is it! You are all set up!
im very impressed with your post because this post is very beneficial for me and provide a new knowledge to me
ReplyDeleteUSB Disk Security Crack
How To Install Windows Without Usb/Cd >>>>> Download Now
Delete>>>>> Download Full
How To Install Windows Without Usb/Cd >>>>> Download LINK
>>>>> Download Now
How To Install Windows Without Usb/Cd >>>>> Download Full
>>>>> Download LINK 53
Thanks for sharing the crack but you need to update this version because here new version Available below;
ReplyDeletehttps://licensedinfo.com/wintohdd-crack/
How To Install Windows Without Usb/Cd >>>>> Download Now
ReplyDelete>>>>> Download Full
How To Install Windows Without Usb/Cd >>>>> Download LINK
>>>>> Download Now
How To Install Windows Without Usb/Cd >>>>> Download Full
>>>>> Download LINK ab